I finally caught up with my stitch-a-longs a got a bit of time to play with something else. Remember Shrinky Dinks? The thin plastic you’d colour on and then watch as they magically shrunk in the toaster oven into a small hard piece of plastic with a fully detailed miniature version of your artistic creation in tact?
Turns out they are still magical.
After flipping through Shrink! Shrank! Shrunk! an absolutely delightful book by Kathy Sheldon and seeing designer Tamara Berg’s take on a shrink plastic cameo, I knew I had to try one out for myself. With a geeky twist of course! Who better to immortalize in shrunken plastic than Link from The Legend of Zelda?
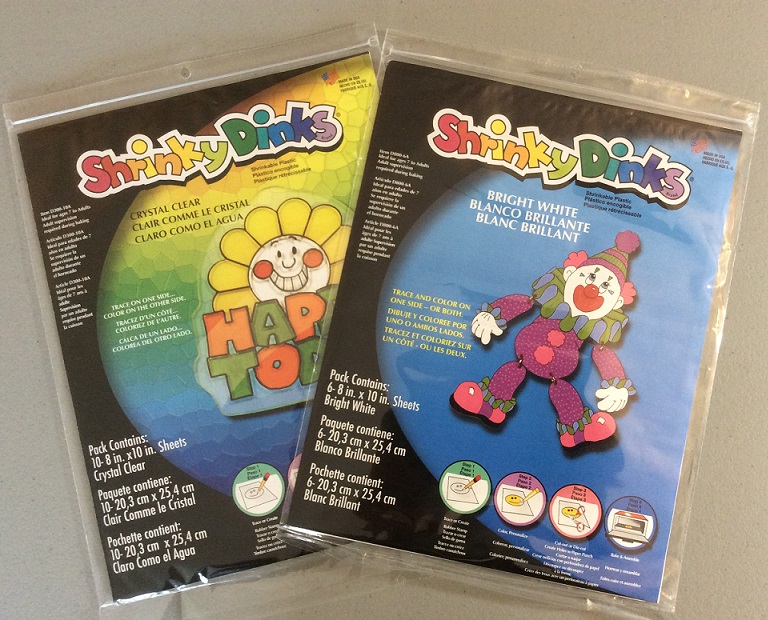
I started with two packages of shrink plastic in clear and white.
Since the clear plastic is quite smooth, it’s difficult to colour with pencil crayons unless you rough it up a bit first. Using a fine grain sand paper I fully sanded one side of a piece of plastic – first sanding horizontally across the piece, and then rotating the piece 90-degrees and sanding horizontally again. This meant the piece was fairly evenly sanded. I wiped the sanding dust off the piece with a soft cloth (read my pant leg) and was good to go.
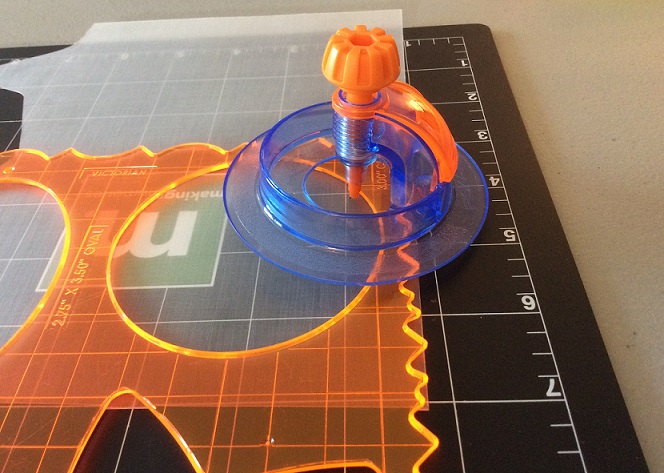
I cut out a three-inch circle for the center of the cameo using a Fiskars circle cutter and then coloured the rough side of the plastic with a green pencil crayon.
 Bad move. Cutting and then colouring left concentrated spots of colour around the outside of the circle (which were even more obvious after shrinking).
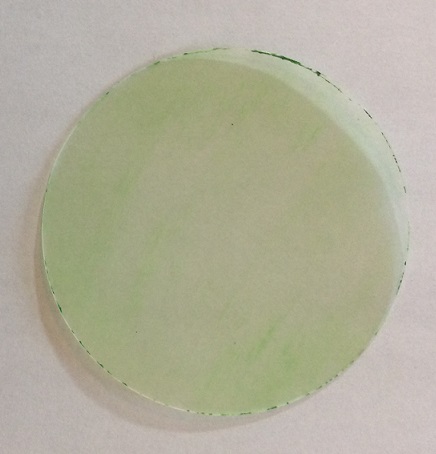
So I threw this circle away and started over, this time colouring an area larger than the circle before I cut it out. I also switched to a darker shade of green for the second circle as I wanted to colour to really pop against the white.
For a white piece for the back of the cameo I used the template from the Shrink! Shrank! Shrunk! book, but there is no shortage of similar badge shapes to be found with a quick Google search.
You can see through the white shrink plastic a small amount but I found it easier to trace the template onto a piece of white paper, cut that out, and then trace around the paper template onto the shrink plastic.
Here’s the final two circular pieces before shrinking:
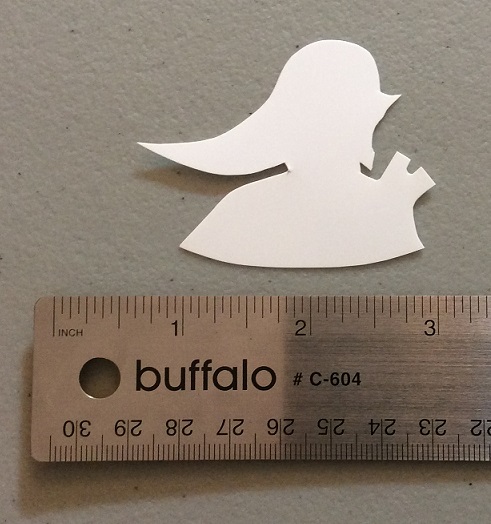
Lastly, is the silhouette for the center of the cameo. I took the head off this gorgeous Link silhouette by Sora3087. Again, cutting the template out of paper, tracing it onto the shrink plastic, and using a small pair of scissors to cut out the image.


Now for the fun part. The specific Shrink plastic directions (time and temperature) will vary based on the brand and type, but the basic concept is always the same. Place the pieces on a parchment lined tray in the toaster oven and watch as they begin to contract and curl, and then somehow, magically, flatten back out. After the pieces flatten, wait another 20-30 seconds before removing them from the oven, immediately transfer them to a perfectly flat surface (I used my counter top) and place a heavy, flat object on top. (I swear I have some textbooks that I’ve used more since I started crafting than I ever used in the classes they were for. They’re a perfect heavy, flat object).
Here’s the shrunken goodness:

All that’s left is assembly. I recently discovered E6000 glue and so far I like it. It’s super strong, waterproof, and dries clear. The only drawback is that it’s supposed to be brushed on both surfaces to be bonded, which is easier said than done when trying to glue an intricately cut shape to a circle. In the end I covered the back of the Link cut-out, but just put a couple spots of glue on the circle in areas I knew would be covered by the silhouette. I then made sure to leave it alone to cure for a day and it seems to have worked out.
After the glue was fully cured I drilled a hole through the two circular layers using a 1/16″ drill bit and fed a jump ring through.
Here’s the final result:
You could use a hole punch to make the hole before baking, but the idea of trying to perfectly line up those holes while gluing the pieces together, and not filling the hole with glue, seemed a little too challenging to me.
This was insanely fun to make, and I have a bunch more Shrink Plastic projects in the works, so keep a look out!