I’ve been a fan of the loop start method in cross stitch since I learned it about a year ago. That is until recently, when I learned the even more awesome loop start in the front method. I’m a total convert so I thought I would share it.
Here’s a basic cross stitch square. We’re going to start a new thread by making the first half of a stitch from A to B:

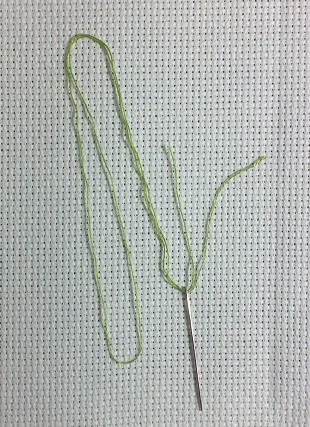
Step 1: Cut a piece of floss double the length that you would normally work with. Separate out a single strand of floss. Fold the floss in half and thread the open end through the needle.
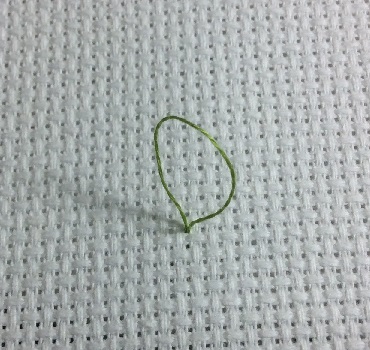
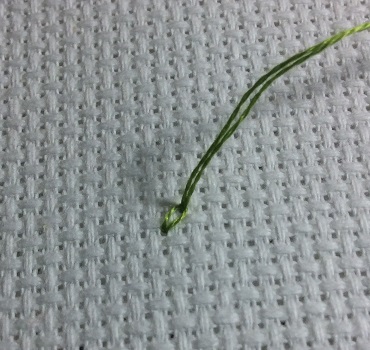
Step 2: Pass the needle from the front of the fabric to the back of the fabric through hole A, leaving a loop at the front of the work.
Step 3: Bring the needle back up through hole B.
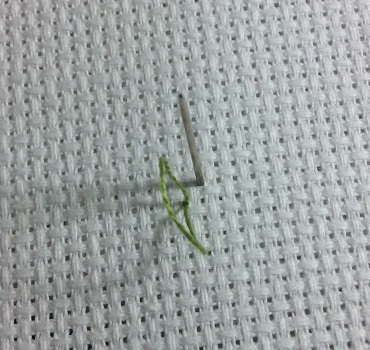
Step 4: Pass the tip of the needle through the thread loop.
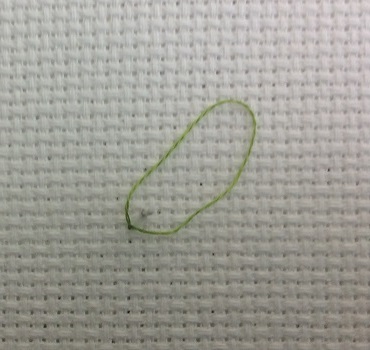
Step 5: Pull the thread tight.
Step 6: Pass the needle back down through hole B.

Step 7: Pull the stitch tight. This will force the knot to the back of the work.

Voila! The new thread is secured and you didn’t have to access the back of the work. How cool is that?

[…] experiences and helpful tips. Today, I came across a tip from craftscapades for making a “loop start at the front“. Seems like it beats “burying the […]
LikeLike